Choose how you'd like to follow along:
From the left-hand menu, under Settings, click Go Live, then perform the following steps:
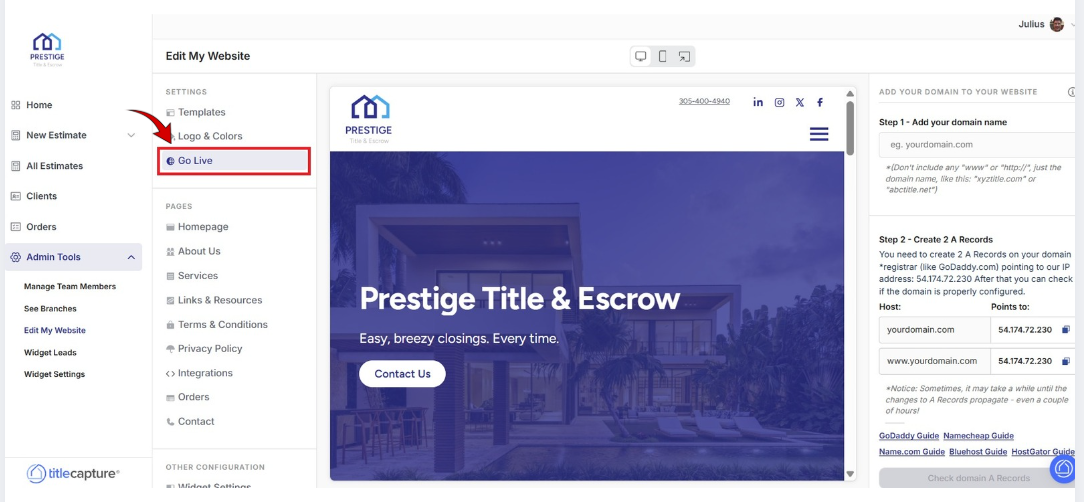
Step 1 – Add Your Domain Name
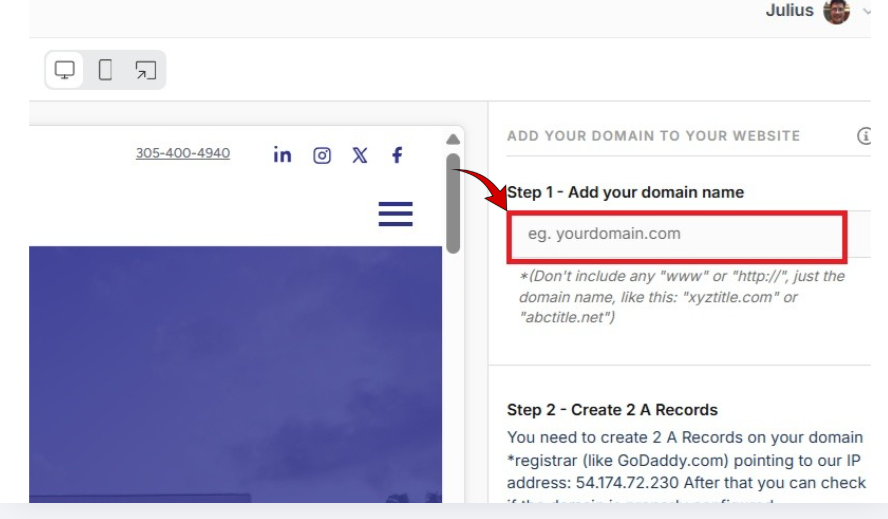
Enter your root domain in the field on the right-hand side (for example, yourdomain.com).
Do not include: Do not include www, http://, or https://
Enter only the root domain, such as:
Log in to your domain registrar (GoDaddy, Namecheap, etc.) and open your DNS settings.
Use the IP address shown on the right side of Website Builder.
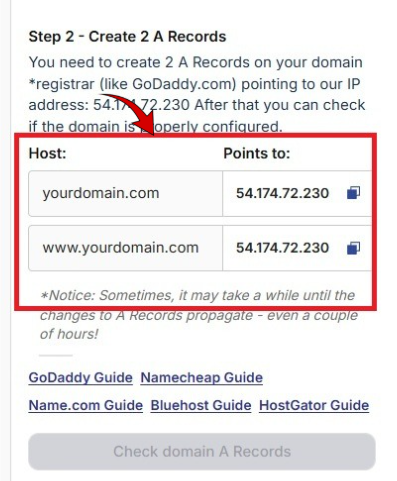
Create or Update These Two A Records
Record 1
Host: yourdomain.com
Points to: 54.174.72.230
Record 2
Host: www.yourdomain.com
Points to: 54.174.72.230
Make sure both records point to the exact IP address shown in Website Builder.
After saving your DNS changes, return to Website Builder.
At first, the Check domain A Records button may be disabled. This is normal.
Once your A Records have fully propagated, the Check domain A Records button will become enabled.
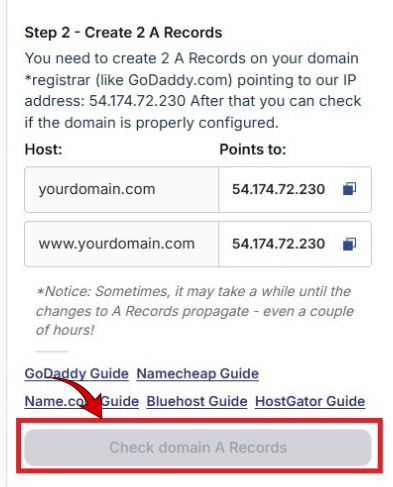
Click the button to verify your setup.
If successful:
The system will confirm your domain is properly configured
You can proceed to generate your SSL certificate
DNS updates are not instant. It may take several minutes — or even a few hours — for changes to fully propagate.
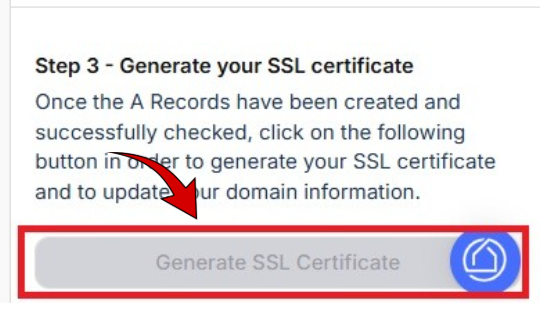
Once your A Records have been successfully verified, click Generate SSL Certificate.
An SSL certificate:
Encrypts data between your server and visitors’ browsers
Enables your website to load securely using HTTPS
Confirms your site is safe and trusted
After clicking the button, wait for the SSL certificate to finish generating.
Once complete:
Your site will load using HTTPS
Your website will be secure and encrypted
Edit My Website > Settings
Included articles on templates, logos and colors, and publishing your website.
Edit My Website > Pages
Contains step-by-step guides for editing each page of your site, including Homepage, About Us, Services, Links & Resources, Contact, and Legal pages.
Edit My Website > Other Configuration
Includes step-by-step guides for configuring website widgets and managing blog settings to enhance your site’s functionality.
If you have any questions or need additional help, please reach out to us at [email protected]. We’re always happy to assist.
