From the left-hand menu, under Pages, click Homepage.
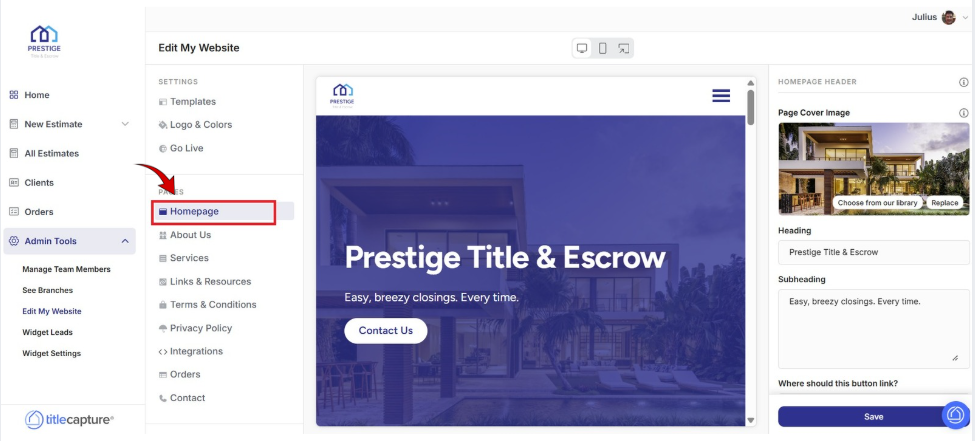
* A preview of the homepage is displayed in the center preview area.
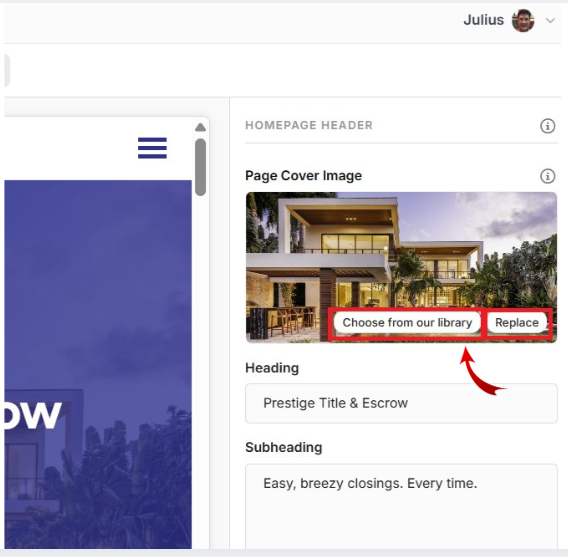
The Page Cover Image is the banner image displayed at the top of a page, serving as the visual header for that section of your website.
On the right-hand side of the screen, under Homepage Header, select a Page Cover Image from the image library (which contains images you’ve already uploaded and any default images provided by the platform), or click Replace to upload a new cover image from your computer.
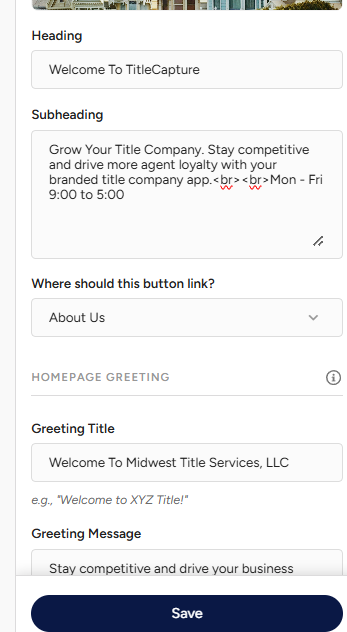
Scroll down and update the following:
Heading – Change the main headline displayed on your homepage
Subheading – Modify the supporting text shown below the heading
Button Link – Choose where the homepage button directs visitors
Greeting Title – Customize the welcome message displayed further down the page
Greeting Message – Add a brief introduction about your company, values, or services
The Partner’s Section allows you to display logos of partner companies on your website, helping build credibility and trust with visitors.
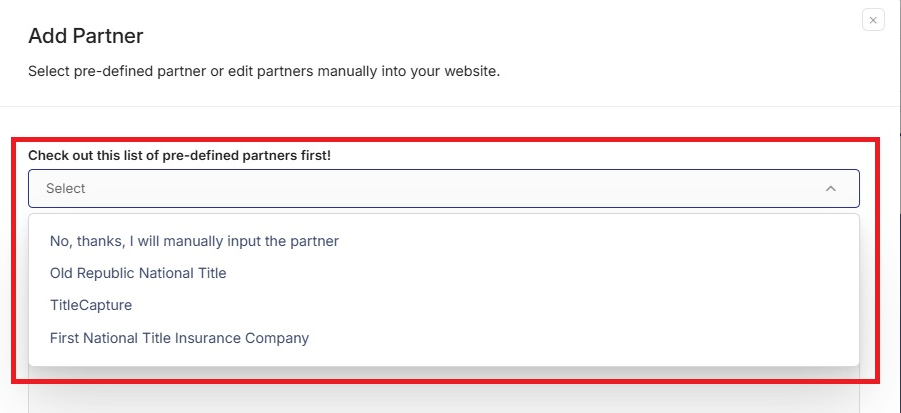
Click on Add Partner if you want to add a partner company.
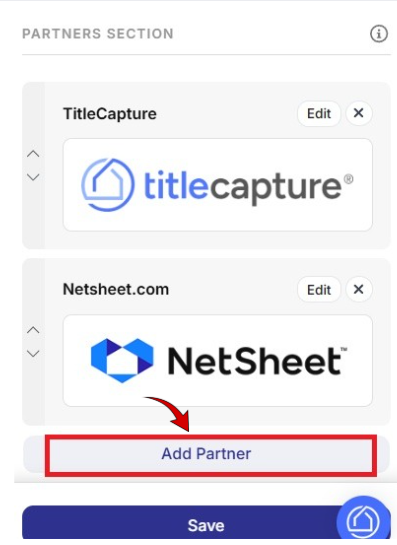
The Add Partner window will open. If available, select a partner from the pre-defined partners list, or choose No, thanks, I will manually input the partner.
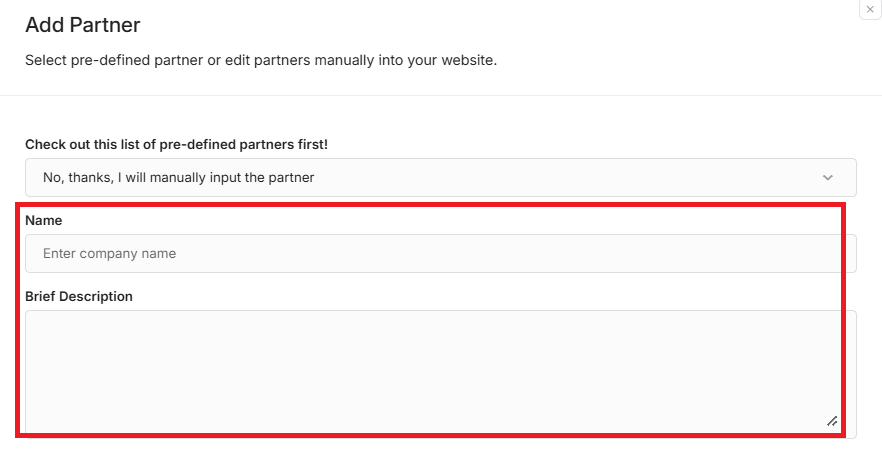
Enter the Company Name in the Name field. Add a short Brief Description of the partner (optional).
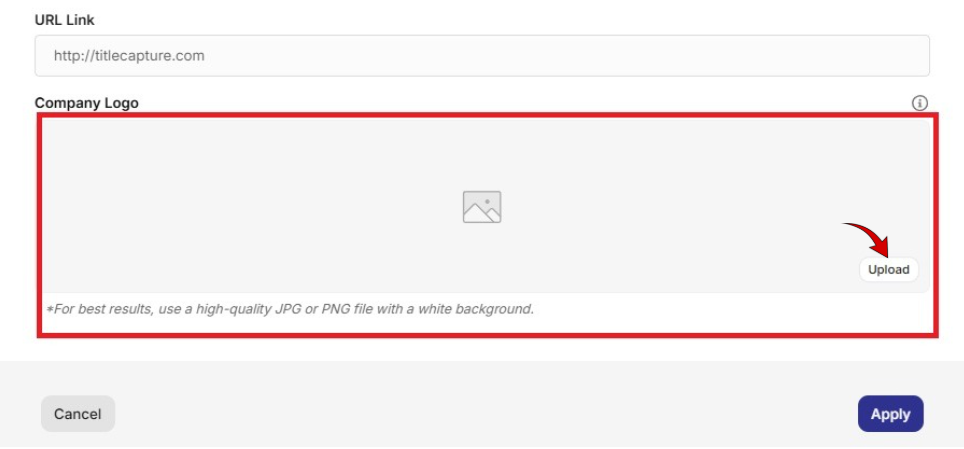
Enter the partner’s website in the URL Link field, this allows your partner’s logo (or name) on your website to be clickable. When visitors click on this, they will be redirected to your partner’s website in a new browser tab or window.

In the Company Logo section, click Upload to add the partner’s logo.
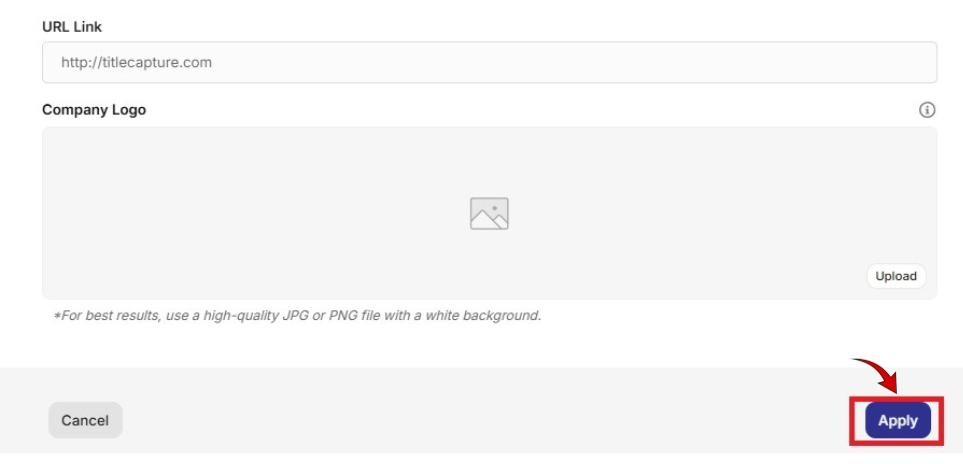
Click Apply to save all updates.
The Presentation Video section allows you to display a video on your website by embedding it from a video hosting platform. To add or update a video:
Copy the embed code from a video platform such as YouTube, Wistia, or another supported provider.
Paste the embed code into the Your Embed Code field.
Once the embed code is added, the video will appear in the preview area above.
Review the video to ensure it displays and plays correctly.
Click Save to apply your changes.

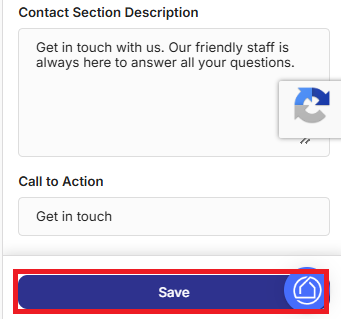
The Contact and Call to Action section. This section allows you to customize how visitors get in touch with your business.
Contact Section Description – Enter a short message that encourages visitors to reach out, such as information about your support or availability.
Call to Action – Customize the button text (for example, Get in Touch) that prompts visitors to contact you.
Finally, click Save at the bottom of the screen to apply updates/changes.
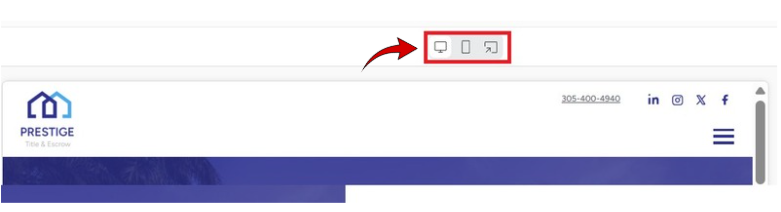
Review your updates in the center preview area.
Switch between Desktop, Mobile, or Website views using the icons above the preview to confirm the page displays correctly on all devices.
If further edits are needed, update the content and click Save again until you are satisfied.
Edit My Website > Settings
Included articles on templates, logos and colors, and publishing your website.
Edit My Website > Pages
Contains step-by-step guides for editing each page of your site, including Homepage, About Us, Services, Links & Resources, Contact, and Legal pages.
Edit My Website > Other Configuration
Includes step-by-step guides for configuring website widgets and managing blog settings to enhance your site’s functionality.
If you have any questions or need additional help, please reach out to us at [email protected]. We’re always happy to assist.
