From the left-hand menu, under Pages, click About Us.
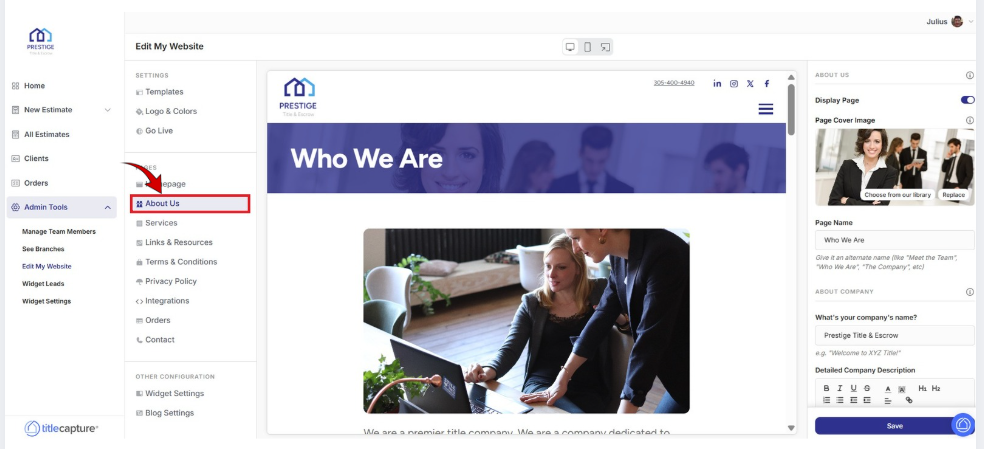
* A preview of the About Us page is displayed in the center preview area.
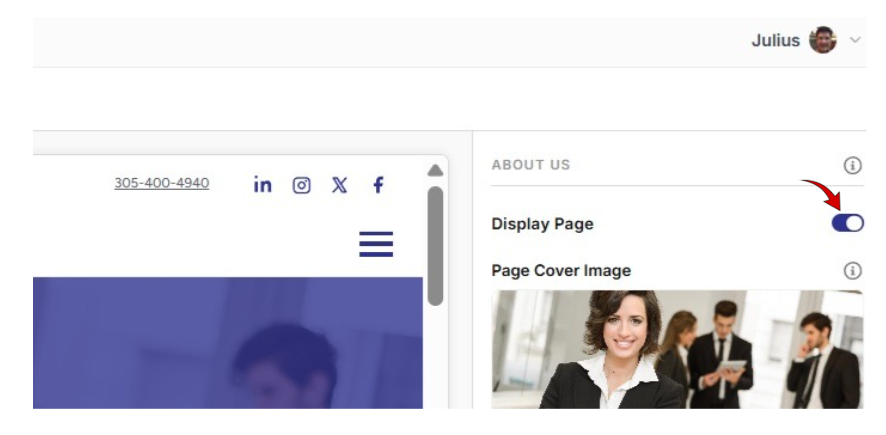
On the right-hand side of the screen, under About Us review the Display Page toggle and ensure it is enabled if you want this page visible on your website.
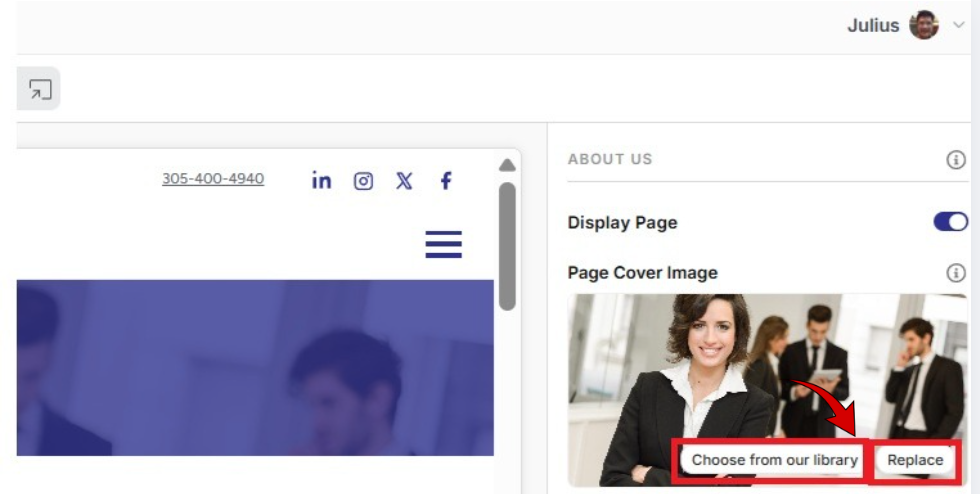
On the right-hand side of the screen, under About Us, select a Page Cover Image from the image library (which contains images you’ve already uploaded, and any default images provided by the platform), or click Replace to upload a new cover image from your computer.
Review or update the Page Name field (this controls the page title shown in navigation). Give it an alternate name (like "Meet the Team", "Who We Are", "The Company", etc).

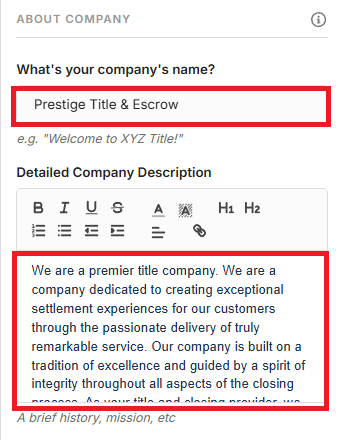
Enter or confirm your company name as you’d like it to appear, then use the “Describe Your Company” section to add or update your company description, including your services, values, and background.
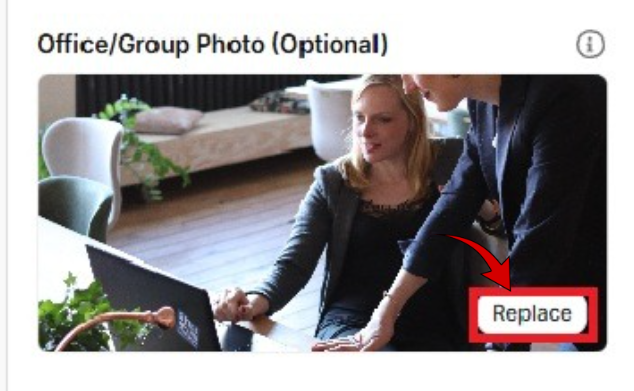
(Optional) In the Office / Group Photo section, click on Replace to upload an image that represents your company or team.
In the Your Staff Members section, click Edit to update an existing staff member or Add New Staff Member to create a new one. This opens the Edit Staff Member or Add Staff Member to your website page.
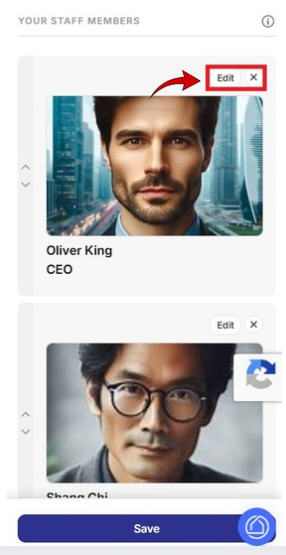
On the next page, you can edit the following information:
Name – Enter the staff member’s name or team name as it should appear on the website.
Title – Add the staff member’s role or position (for example, Title Processor or Support Team).
Bio – Provide a brief description of the staff member, their experience, or responsibilities.
Email – Enter the email address visitors can use to contact this staff member or team.
Phone – Enter the phone number associated with this staff member or department.
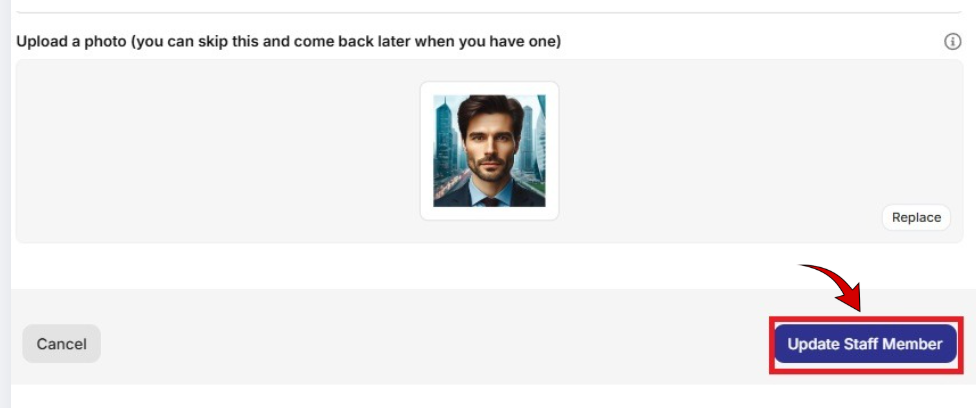
Photo (Optional) – Upload a photo for the staff member. You can skip this step and add a photo later if needed.
Once all updates are complete, save your changes to apply them to your website. The updated staff information will appear in the Our Staff section on the About Us page.
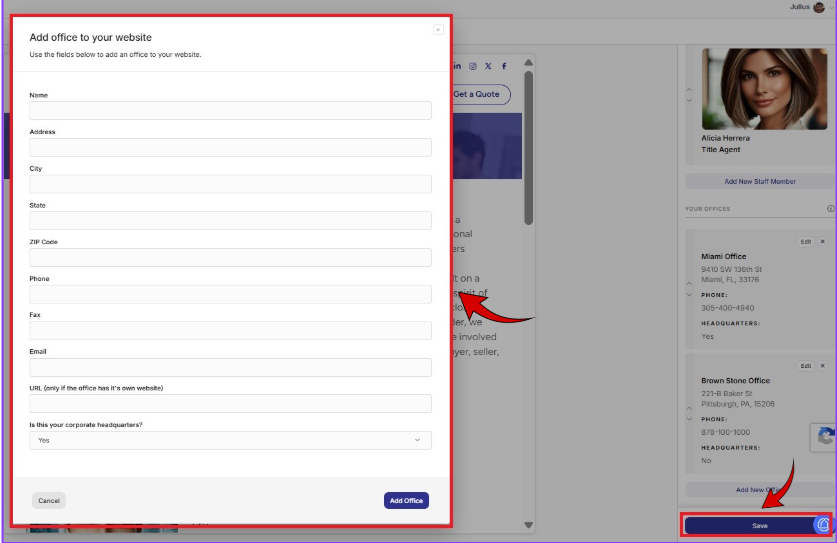
To add a new office location, click Add New Office, which opens a separate page where you can enter the office’s details and contact information.
Use the fields provided to enter the office’s details, including:
Office Name
Address, City, State, and ZIP Code
Phone and Fax numbers
Email address
Website URL (only if the office has its own website)
Corporate Headquarters designation (select Yes if this is your main office)
Once all required information is entered, click Add Office to save the office and display it on your website. To exit without saving, click Cancel.
Finally, click Save at the bottom of the panel to apply your changes.
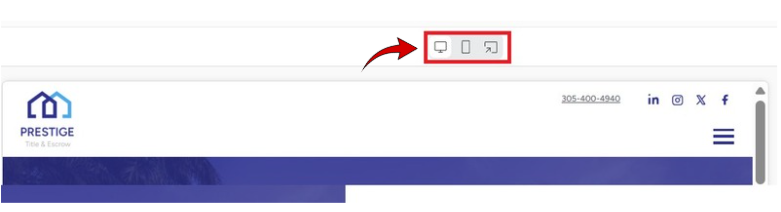
Review your updates in the center preview area.
Switch between Desktop, Mobile, or Website views using the icons above the preview to confirm the page displays correctly on all devices.
If you’d like to make additional changes, repeat these steps until you’re satisfied with your About Us page.
Edit My Website > Settings
Included articles on templates, logos and colors, and publishing your website.
Edit My Website > Pages
Contains step-by-step guides for editing each page of your site, including Homepage, About Us, Services, Links & Resources, Contact, and Legal pages.
Edit My Website > Other Configuration
Includes step-by-step guides for configuring website widgets and managing blog settings to enhance your site’s functionality.
If you have any questions or need additional help, please reach out to us at [email protected]. We’re always happy to assist.
