From the left-hand menu, under Pages, click Terms & Conditions.
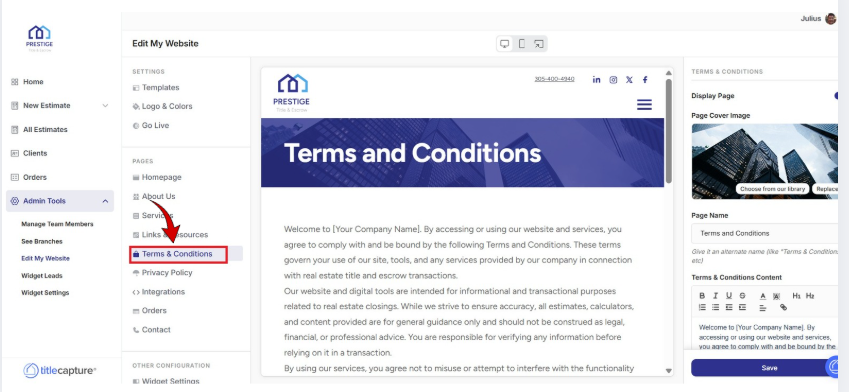
* A preview of the Terms & Conditions page is displayed in the center preview area.
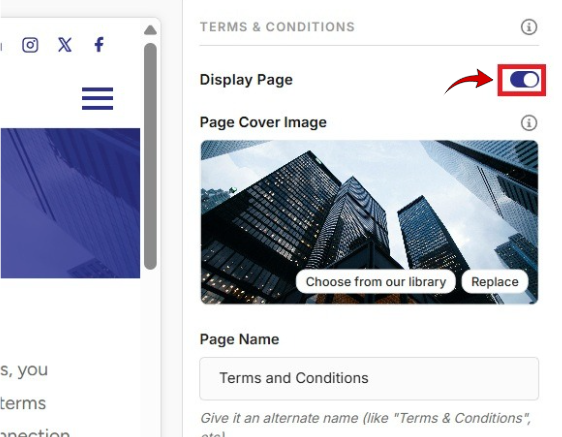
On the right-hand side of the screen, review the Display Page toggle and ensure it is enabled if you want this page visible on your website.
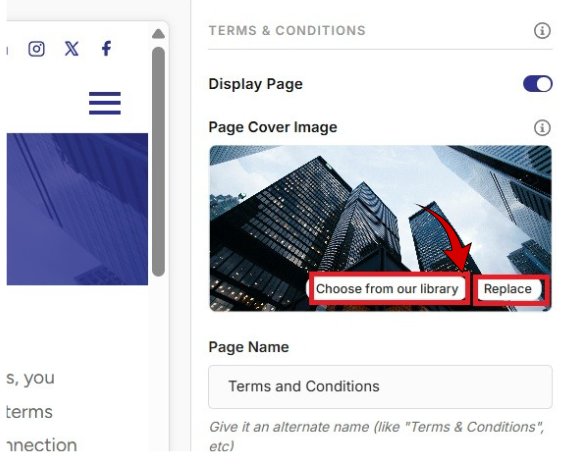
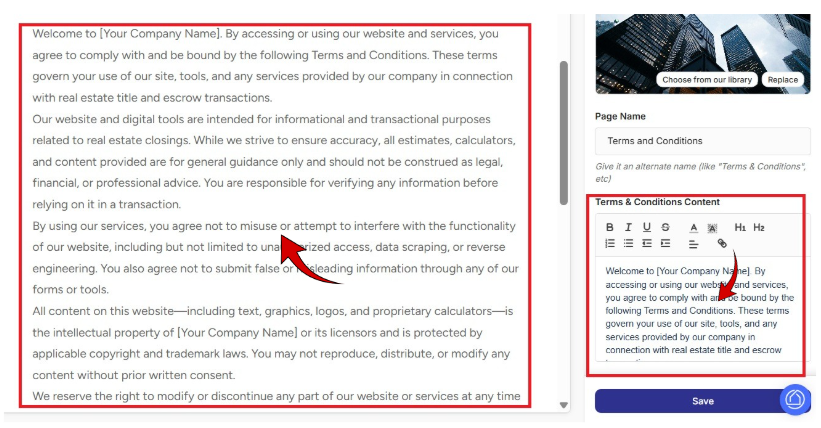
On the right-hand side of the screen, under Links & Resources, select a Page Cover Image from the image library (which contains images you’ve already uploaded, and any default images provided by the platform), or click Replace to upload a new cover image from your computer.
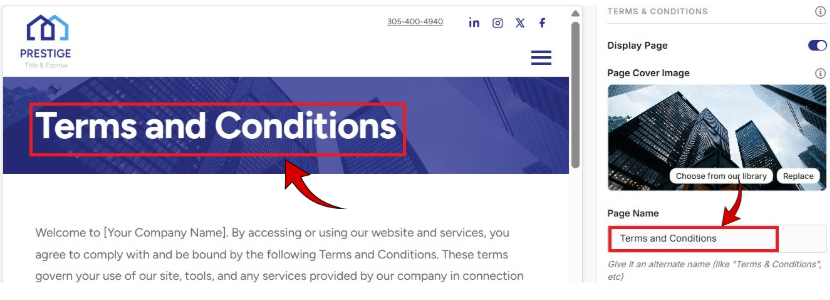
In the Page Name field, enter the title of the page. The text entered here will be displayed as the page title on the website. Give it an alternate name (like "Terms & Conditions", etc)
In the Terms & Conditions Content section, use the text editor to enter or paste your company’s terms and conditions.
You can format the content using headings, lists, and text styling for readability.
This content is what visitors will read on the Terms & Conditions page.
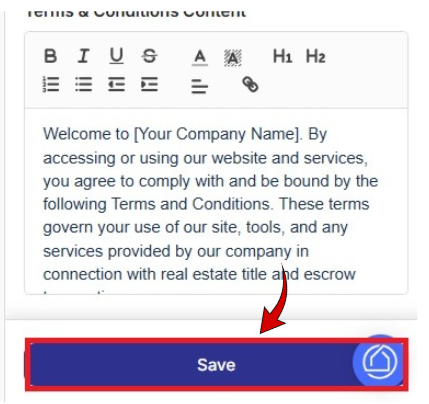
1. Click Save to apply your changes and publish the updated Terms & Conditions page.
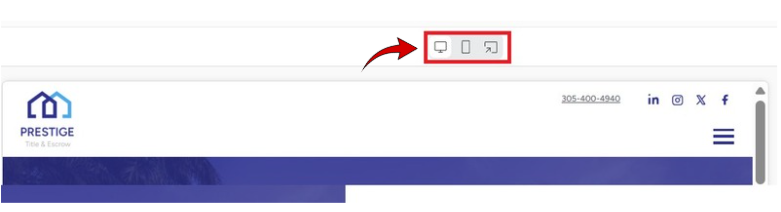
Review your updates in the center preview area.
Switch between Desktop, Mobile, or Website views using the icons above the preview to confirm the page displays correctly on all devices.
If further edits are needed, update the content and click Save again until you are satisfied.
Edit My Website > Settings
Included articles on templates, logos and colors, and publishing your website.
Edit My Website > Pages
Contains step-by-step guides for editing each page of your site, including Homepage, About Us, Services, Links & Resources, Contact, and Legal pages.
Edit My Website > Other Configuration
Includes step-by-step guides for configuring website widgets and managing blog settings to enhance your site’s functionality.
If you have any questions or need additional help, please reach out to us at [email protected]. We’re always happy to assist.
