Inviting Clients
Use the following instructions to send personalized individual invitations or bulk invitations through your app
1. Login to your TitleCapture account.
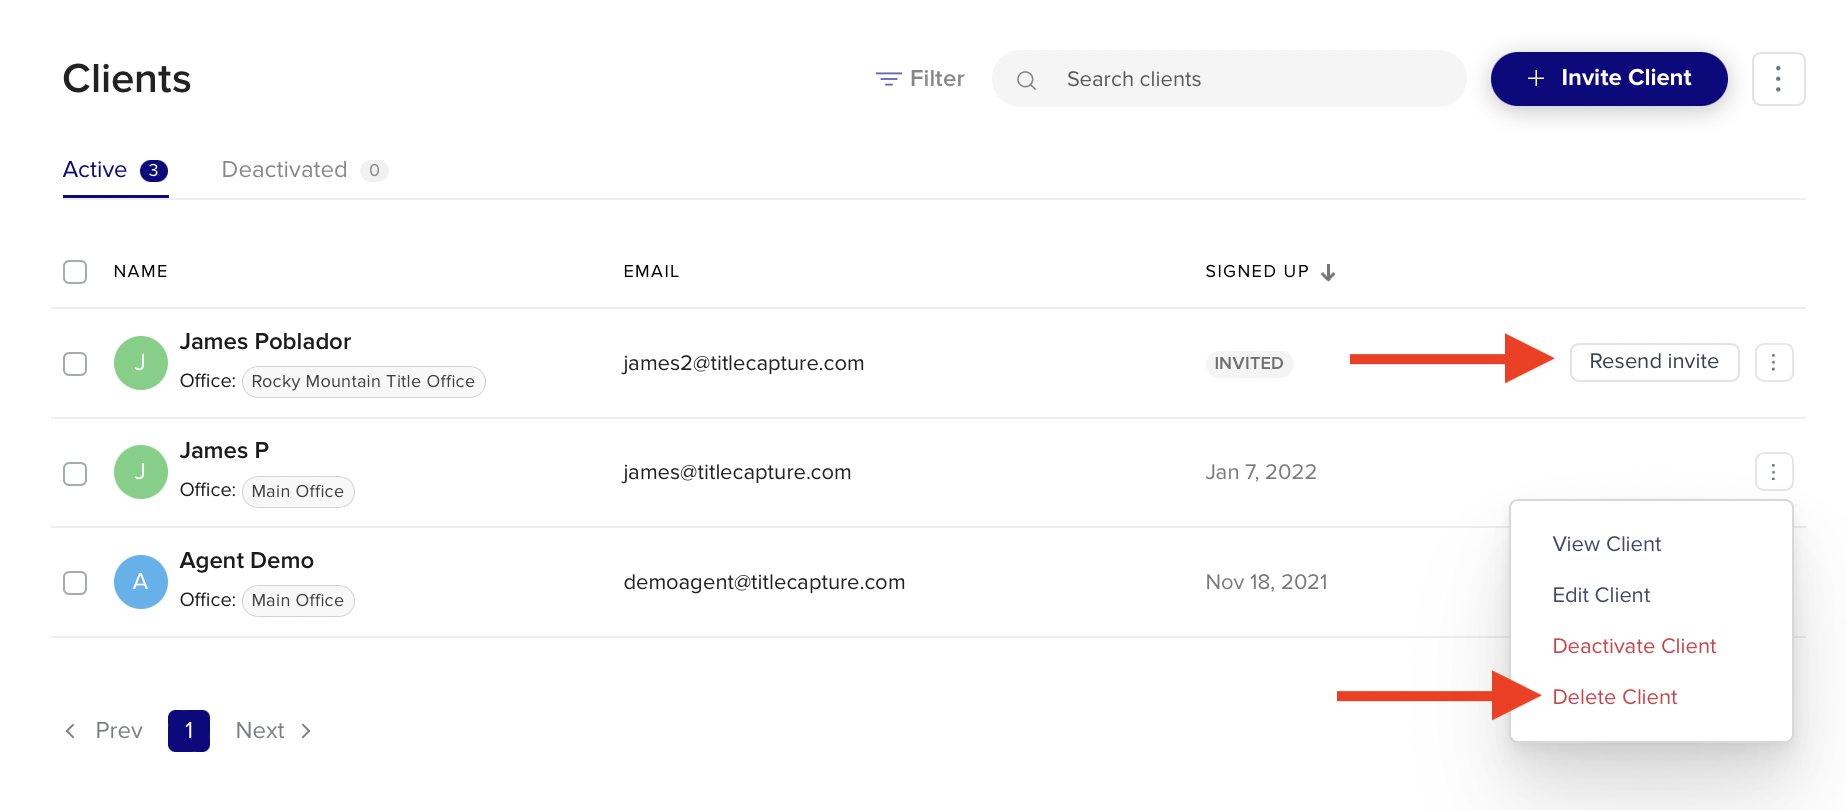
2. Click on the Clients tab at the top left on the nav bar.

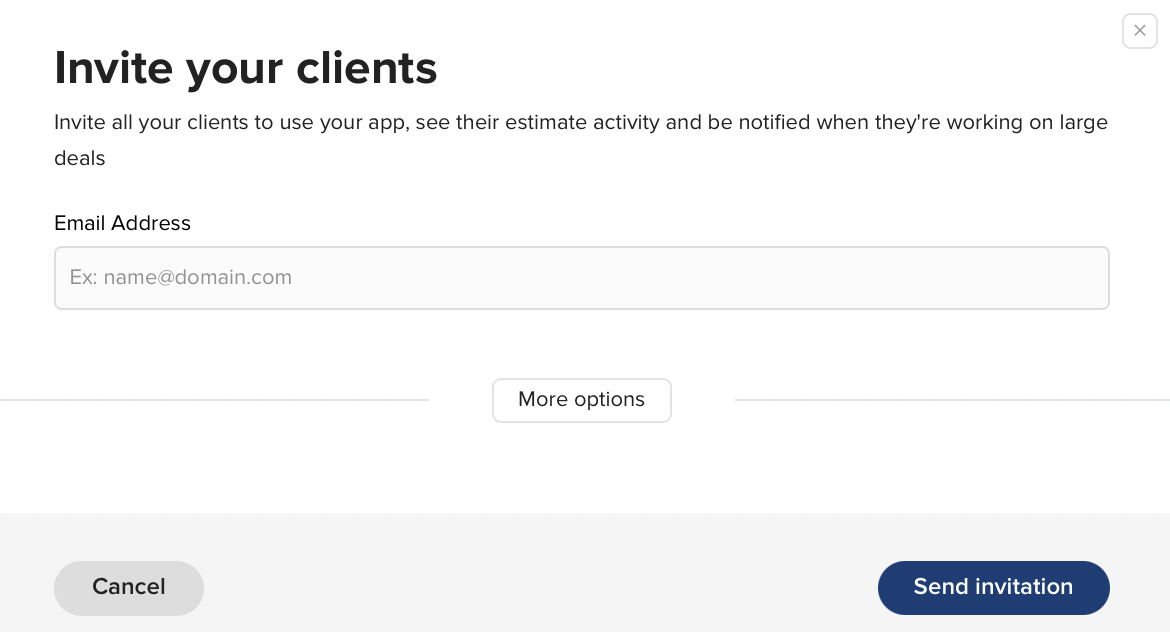
3. Click on the + Invite Client button to send an invitation.

4. Input the client's email address. If you wish, click on "More Options" to provide the client's full name and designate a specific office or title representative prior to sending the invitation.

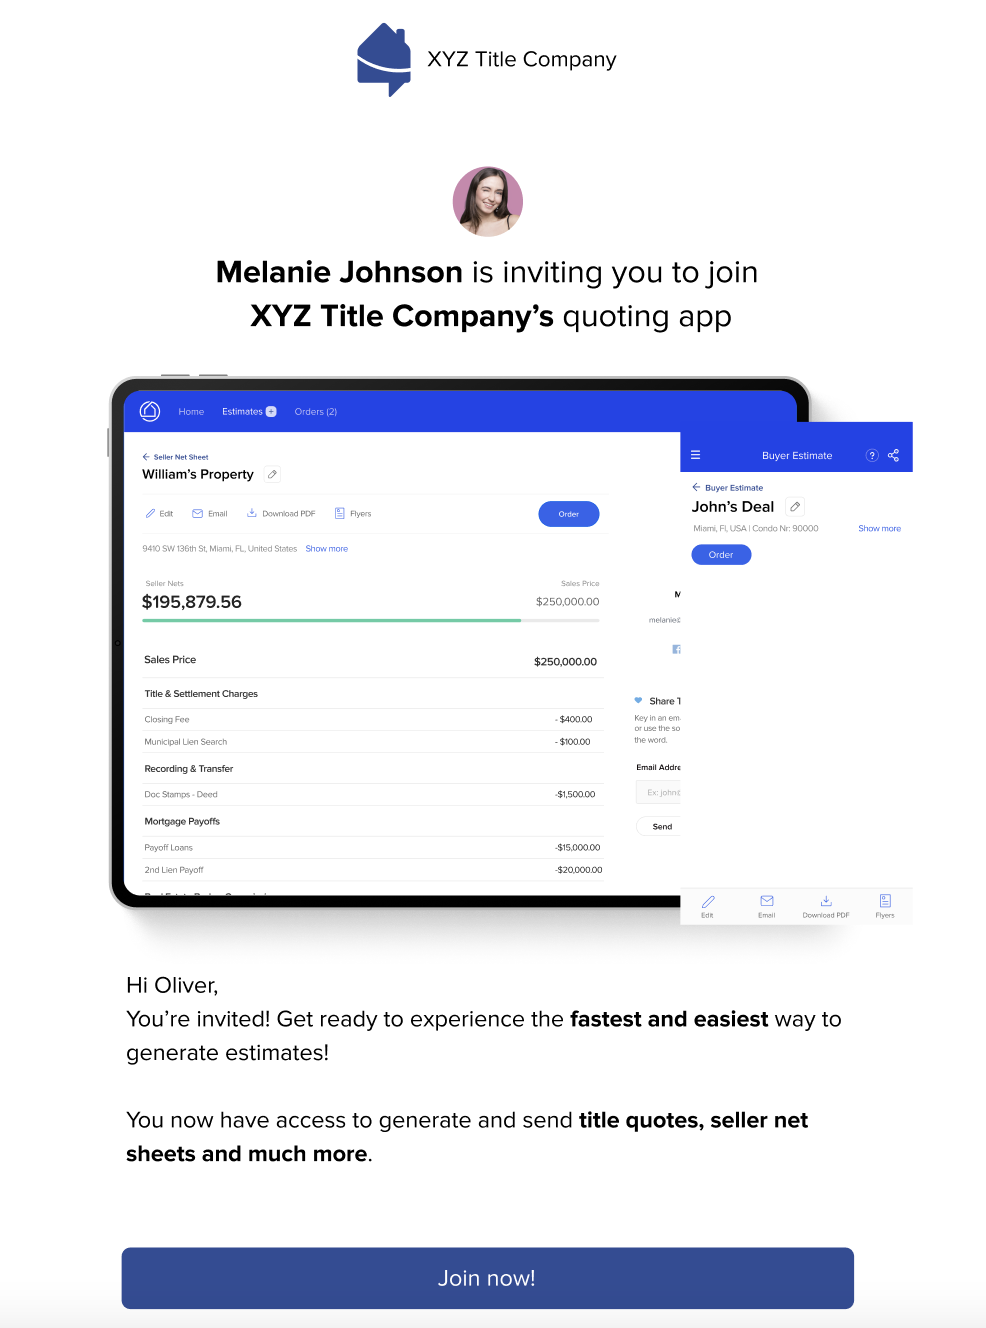
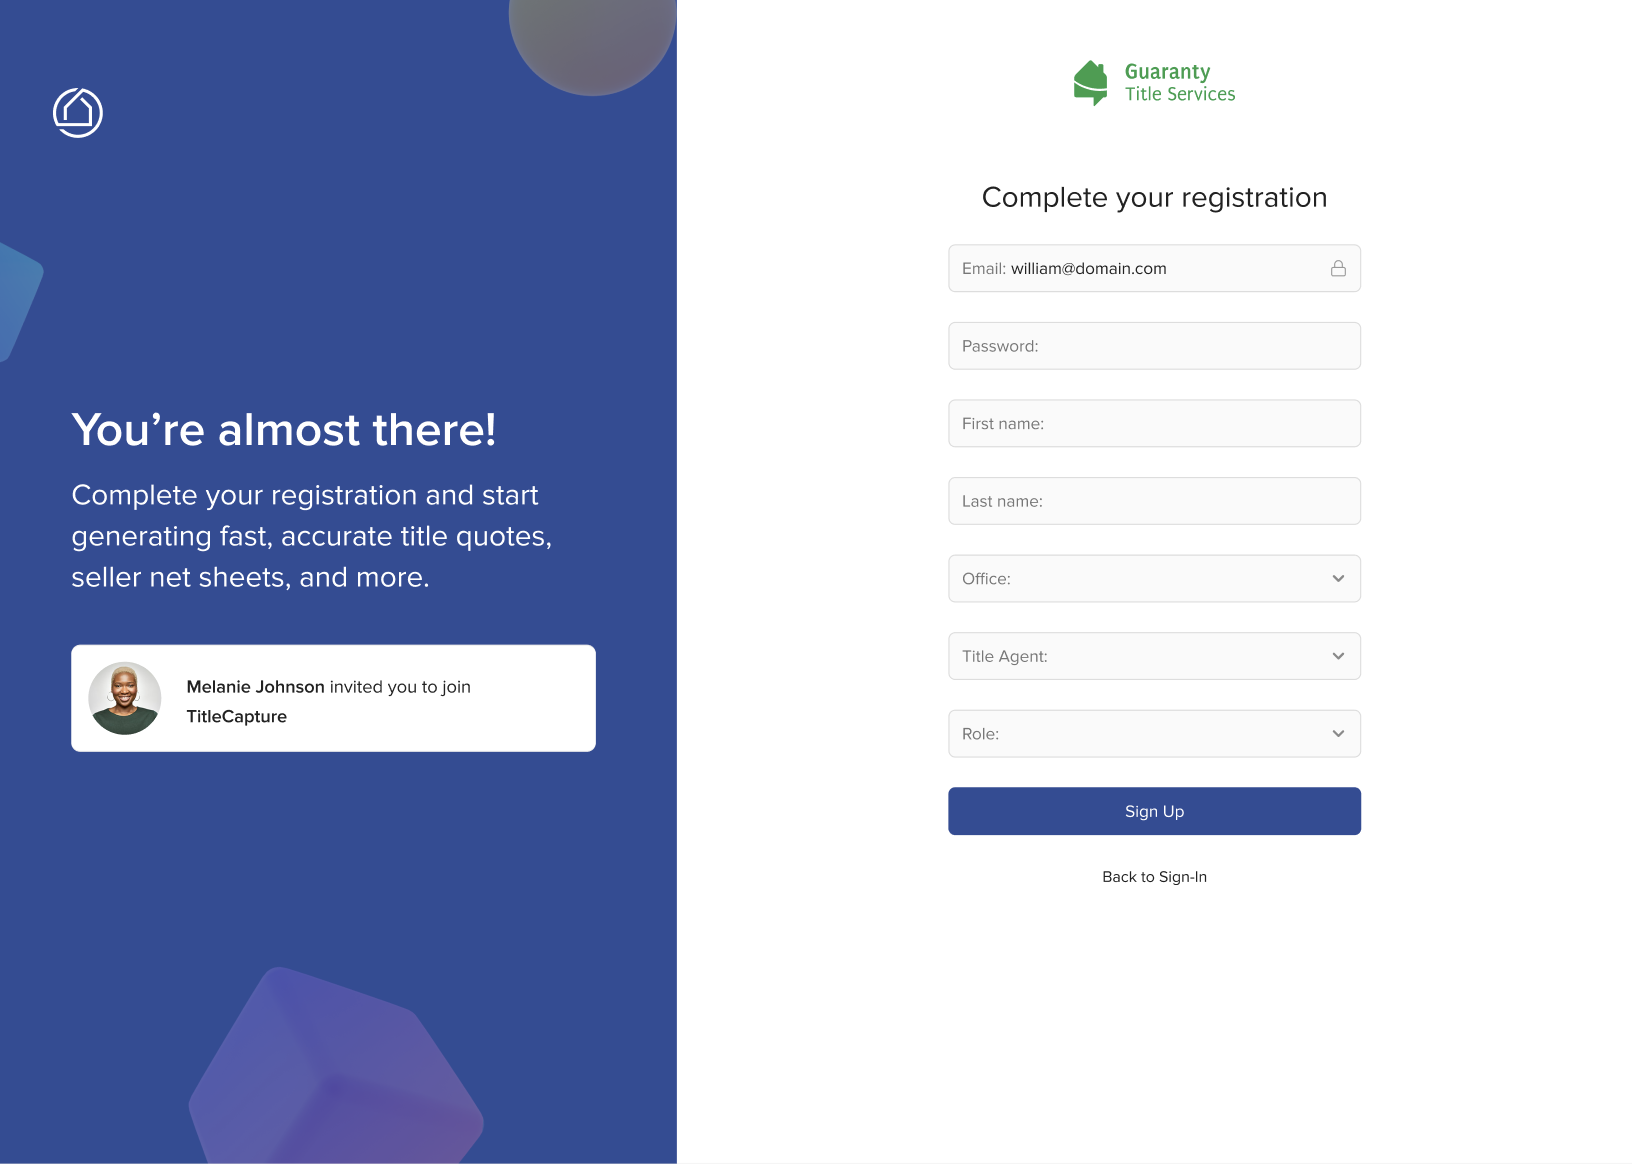
5. Clients will receive an invitation sent to their email inbox. Instruct them to open the email and click on the "
Join Now!" button. This action will direct them to a page where they can enter their personal information and create a password for their account.
6. Import and export your contacts by clicking on the three dots beside the "
+ Invite Client" button.

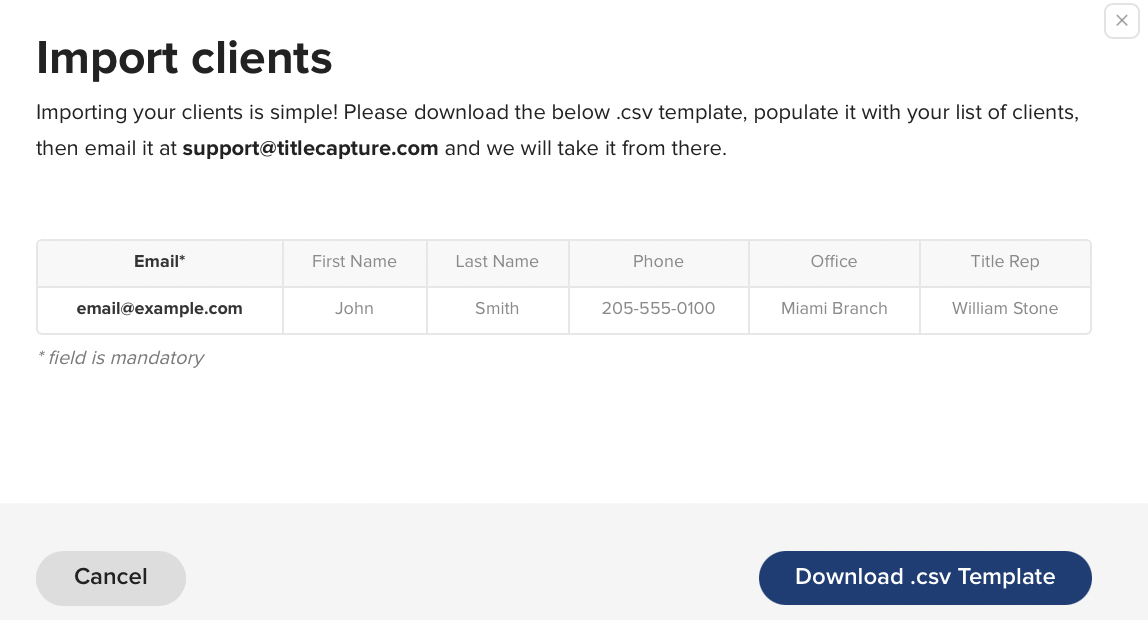
7. Click on "
Import Clients," then click "
Download .csv Template" to import multiple contacts at once. Below are the fields you will need to fill out in the .csv template.
8. The invitation link will remain active for 7 days. You have the option to resend or delete the invitation (by pressing the three dots) if the client does not access the link and activate their account.
