INVITING A NEW TEAM MEMBER
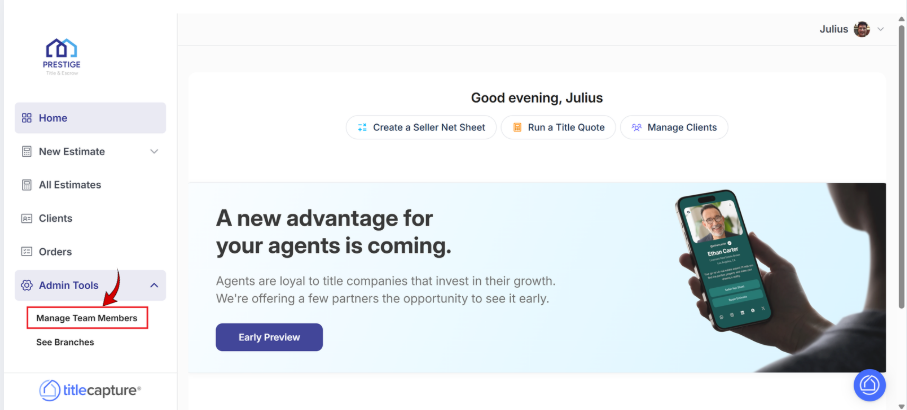
Head over to the sidebar and click on “Admin Tools” section to access your organization management settings.

At the dropdown, select “Manage Team Members”
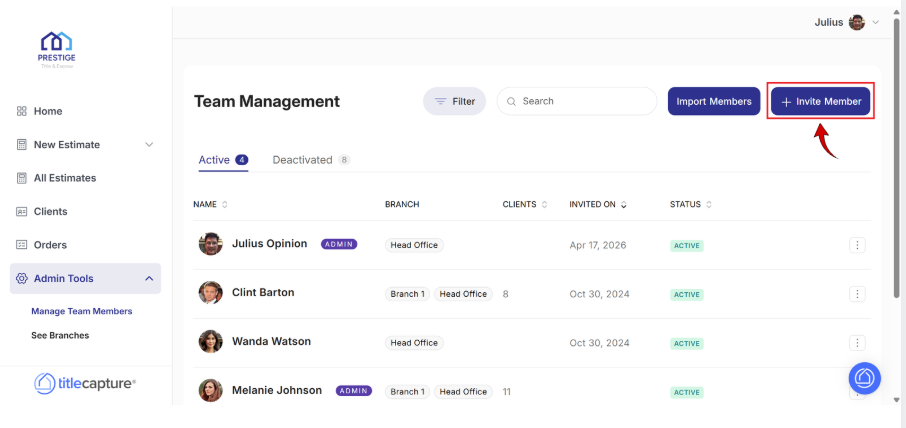
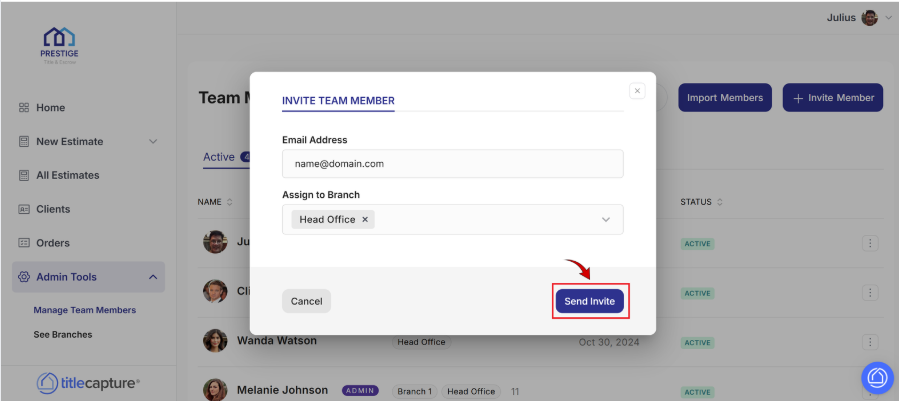
To add someone new, at the upper right hand, click on ‘Invite Member.’
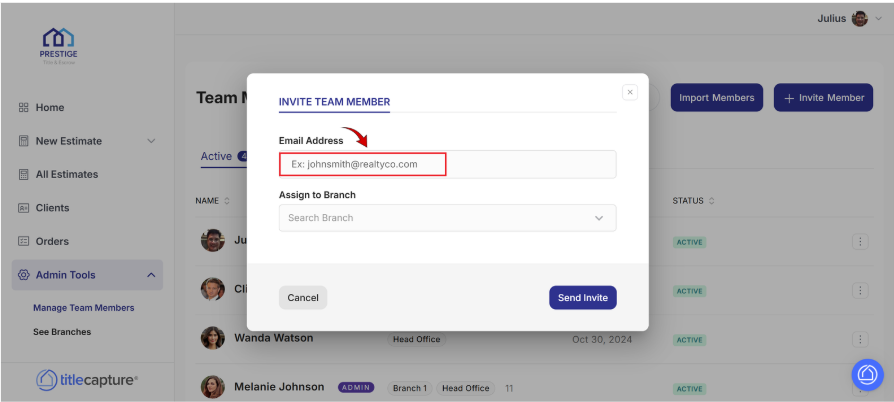
This will open a form where you can enter your new team member’s email address so they can receive their invitation instantly.
Next, assign them to the correct branch or office location. This helps organize your team and ensures they can properly manage the clients that will later be assigned to them.
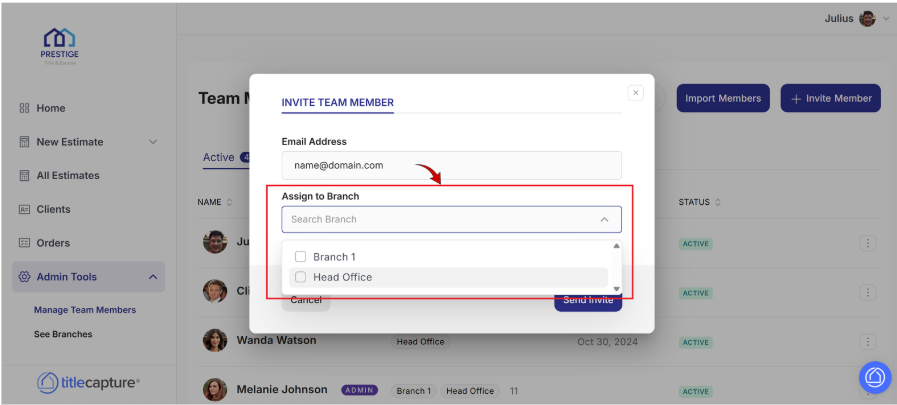
Once everything looks good, click ‘Send Invite’ to welcome your newest team member with just one click.
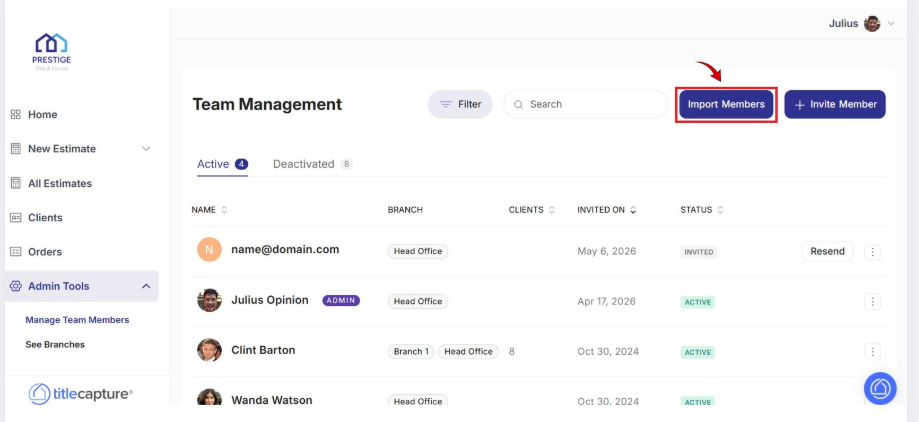
From here, you can monitor their progress. When the user accepts the invitation and completes registration, their status will automatically update to Active. If needed, you can also resend the invitation directly from the Team Management page—just select Resend to its right.

Important Note: After sending the invitation, new users will receive an email prompting them to click the "Accept Invite" button. This action will take them to the New User Registration page. Please be aware that the invitation link is valid for 7 days and will expire automatically if the registration is not completed within that timeframe. If the invited team members need another invitation, a "Resend" button is available. Additionally, if they do not see the invitation email in their inbox, they should check their Spam folder before requesting a new invite
Follow the same steps 1 and 2 above (as for inviting individual team members).
Need to add multiple team members at once? Click “Import Members”
Now, download the CSV template as a guide to prepare and organize your team member information in bulk. Simply fill in the required details, assign the appropriate permissions and roles, and your organization will be ready to onboard new team members who can later manage and support your clients within the platform.
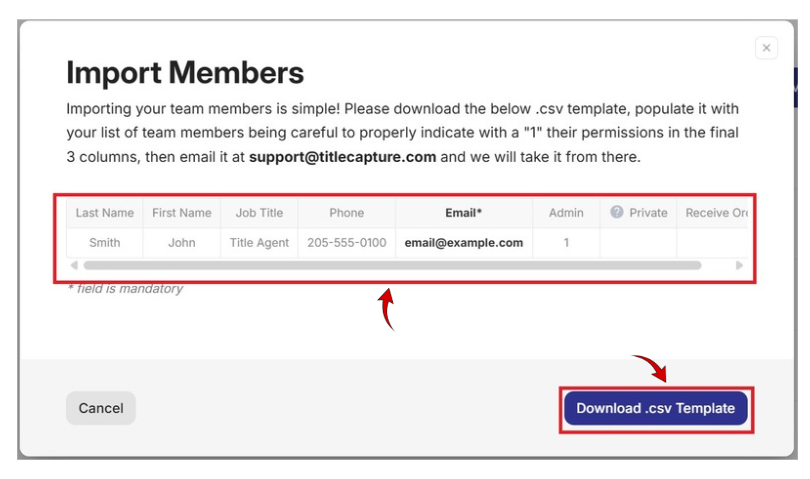
Important Note: Please ensure that you accurately specify permissions in the last three columns by entering “1” to grant access and “0” to revoke access.
Once your CSV file is ready, Attach your completed CSV file to an email, then send it to [email protected], as shown on the screen. From there, the TitleCapture team will take care of the rest—reviewing your file and importing your clients directly into the system for you.
You might also be interested in these related articles:
📄Editing Team Member Permissions
📄Disabling Team Members and Reassigning Clients to New Title Reps and Branches
If you need further assistance, please send us an email at [email protected]. We are more than happy to help!
